Docker Essentials for Developers: From Zero to Containerized App
If you’re a developer juggling multiple environments and projects, you’ve likely encountered the headache of “it works on my machine” problems. Deploying code that behaves inconsistently across environments can waste valuable time. But don’t worry — Docker is here to help!
In this guide, we’ll break down Docker step-by-step, making it easy for busy developers to understand and use. We’ll cover everything from installing Docker to running containers, working in interactive mode, and even containerizing a Create React App (CRA). By the end, you’ll know enough Docker to streamline your development workflow and confidently deploy your applications.
What Is Docker?
At its core, Docker is a platform that allows developers to build, ship, and run applications inside containers. Containers are isolated environments that package everything your app needs to run — code, libraries, dependencies, and configurations — ensuring consistency across different environments.
But to truly understand Docker, it helps to dive a little deeper into how Linux systems handle process isolation and resource control.
In traditional Linux environments, there are concepts like chroot and jailed processes, which have similarities to how Docker works.
chroot and Jailed Processes
Before Docker, Linux users could isolate processes using chroot (change root), a command that changes the apparent root directory for a running process. Essentially, you could limit what parts of the file system a process could see, “jailing” it inside a specific directory. This provided a primitive form of isolation, preventing processes from accessing system files outside their designated directory.
However, chroot had its limitations:
- Limited isolation: It only changed the filesystem view but didn’t isolate other resources, like CPU, memory, or networking.
- Security vulnerabilities: A chroot jail wasn’t foolproof. If a process had root privileges, it could sometimes break out of its jail.
Docker improves on this by combining several Linux features like namespaces and cgroups to provide more comprehensive isolation.
Namespaces and Cgroups
Docker uses Linux namespaces to achieve true process isolation. Namespaces create separate instances of system resources, like process IDs (PID), file systems, network interfaces, and user IDs (UID). This means that processes inside a container have their own private view of these resources, completely isolated from the host system and other containers.
In addition to namespaces, Docker uses control groups (cgroups) to manage resource allocation. Cgroups limit and monitor how much CPU, memory, disk I/O, and network bandwidth a container can use. This ensures that even though multiple containers may be running on the same machine, they won’t compete for system resources and affect each other’s performance.
The Docker Advantage
Docker builds on these Linux features, making it easy for developers to run isolated containers with minimal configuration. Unlike traditional virtual machines that run an entire operating system, containers share the host’s OS kernel, which makes them more lightweight and efficient. Docker containers start almost instantly, consume fewer resources, and are easier to manage than virtual machines.
So, in short, Docker provides:
- Complete isolation: Through namespaces, containers are isolated from the host and from each other.
- Efficient resource management: Cgroups ensure containers get only the resources they need.
- Portability and consistency: You can build, run, and move containers across environments without worrying about setup issues or conflicts.
Why Should You Care About Docker?
If you’re wondering why Docker is worth your time, here’s the deal:
- Portability: Run your app anywhere — on your machine, a colleague’s, or on production — without worrying about environment mismatches.
- Consistency: Every environment is exactly the same, avoiding those hard-to-debug compatibility issues.
- Isolation: Each app runs in its own container, so no more conflicts between dependencies.
- Efficiency: Containers are lightweight and fast, sharing the host machine’s OS without the overhead of virtual machines.
If you’ve ever struggled to set up a development environment or deploy a project without hiccups, Docker will make your life easier.
Setting Up Docker
Before we get hands-on, let’s make sure you have Docker installed and ready to go.
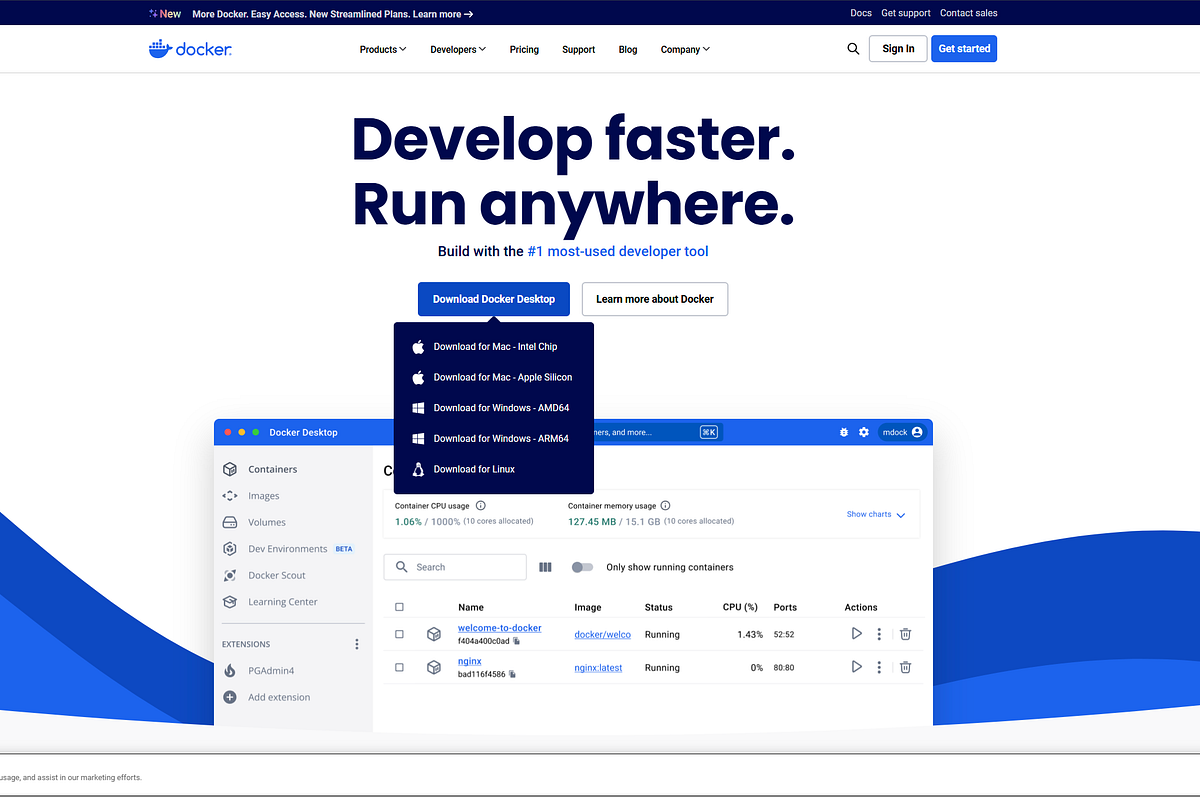
- Download Docker Desktop from Docker’s official website. It’s available for Windows, macOS, and Linux.
- Install Docker: Just follow the standard installation steps for your operating system.
- Launch Docker: Once installed, open Docker Desktop. You’ll see the Docker whale icon in your system tray, confirming that Docker is running.
Boom! You’re all set up and ready to start working with Docker.
Important Docker Commands (Quick Reference)
Before diving into specific examples, let’s look at some Docker commands you’ll use frequently. Don’t worry, they’re not hard to learn, and you’ll be using them all the time.
- Pull an image from Docker Hub:
Docker Hub is like a marketplace for Docker images.
docker pull [image-name]- List running containers:
See which containers are currently up and running.
docker ps- List all containers (including stopped ones):
docker ps -a- Stop a running container:
If you want to stop a container, you can use this command:
docker stop [container-id]- Remove a stopped container:
Clean up containers you don’t need anymore.
docker rm [container-id]- Remove an image:
If you need to delete a Docker image from your system:
docker rmi [image-id]Now that you’ve got the basics down, let’s try running a Docker container!
Running Your First Docker Container
Let’s kick things off by running a prebuilt container. We’ll use a Node.js image from Docker Hub, but feel free to swap this for any other image.
docker run -it node bashHere’s what’s happening:
-it: This runs the container in interactive mode, which means you can access the container’s shell.node: This tells Docker to use the official Node.js image from Docker Hub.bash: Instead of letting the container run the default Node.js entrypoint (which would exit if no long-running process is defined), we’re starting a Bash shell so the container stays active. If not added bash here we’ll end up in node repl.
Now, you’re inside the container, and you can run Node.js commands or install packages interactively.
For example, you can check the Node.js version by typing:
node --versionWhen you’re done working inside the container, type exit to leave the shell, which will also stop the container.
Creating Your Own Container
Now that you’ve run a basic container, it’s time to dive deeper and create your own custom container. This is where Docker really shines because you can take any application, set up the environment, and make it run consistently, no matter where it’s deployed.
To create your own container, you need a Dockerfile. Let’s break this down so it’s easy to understand.
Understanding Dockerfile
A Dockerfile is essentially a set of instructions for Docker to build an image for your app. It tells Docker:
- What base image to use (for example, Node.js, Python, etc.).
- What dependencies your app needs.
- How to set up the environment (like working directories, environment variables, ports, etc.).
- How to run the application once the container is ready.
Think of it like a recipe for building and running your app.
Here’s a simple Dockerfile for a Node.js app:
# Use the official Node.js image
FROM node:18

# Set the working directory inside the container
WORKDIR /app

# Copy package.json and install dependencies
COPY package*.json ./
RUN npm install

# Copy the rest of your app's files
COPY . .


# Expose the app's port
EXPOSE 3000


# Start the app
CMD ["npm", "start"]
This Dockerfile:
- Starts with a Node.js base image.
- Sets the working directory to
/appinside the container. - Copies over your
package.jsonand installs dependencies. - Copies the rest of your project files.
- Exposes port 3000 so we can access the app.
- Defines the command to start the app (
npm start).
Containerizing a Create React App (CRA)
Let’s put everything together by containerizing a Create React App (CRA). If you haven’t created a CRA before, you can do it with:
npx create-react-app my-app
cd my-app
Now, let’s containerize it.
Step 1: Create a Dockerfile
In the root of your CRA project, create a Dockerfile:
# Use the official Node.js image
FROM node:18

# Set working directory
WORKDIR /app

# Copy package.json and install dependencies
COPY package*.json ./
RUN npm install

# Copy the rest of the app files
COPY . .

# Build the React app
RUN npm run build

# Expose the port the app runs on
EXPOSE 3000

# Start the React app
CMD ["npm", "start"]
Step 2: Build the Docker Image
docker build -t my-react-app .Step 3: Run the Docker Container
docker run -d -p 3000:3000 my-react-appYour Create React App is now containerized and accessible at http://localhost:3000. You’ve successfully built and run a custom Docker container for your app!
Wrapping It All Up
You’ve covered a lot in this guide, from setting up Docker and running your first container, to working in interactive mode, writing a Dockerfile, and containerizing a real-world React app. Let’s recap what you’ve learned:
- What Docker is and why it’s a must-have for developers.
- Setting up Docker Desktop on your machine.
- Running prebuilt containers with a single command.
- Running Docker in interactive mode for debugging and testing.
- Creating a Dockerfile to containerize your own apps.
- Building and running containers for your projects.
- Containerizing a Create React App.
Docker is a game-changer when it comes to development workflows. With this knowledge, you’re ready to use Docker to simplify your projects, reduce deployment headaches, and build containerized apps like a pro.
If you’re interested in going deeper, stay tuned for our next post, where we’ll explore Docker Compose and learn how to manage multi-container apps. Docker Compose makes it easy to define and manage complex applications with multiple containers, and it’s a natural next step after learning the basics of Docker.
Conclusion
Docker has become an essential tool for modern developers, allowing us to create portable, scalable, and consistent environments. Whether you’re working on a simple app or managing a large-scale system, Docker ensures your application runs seamlessly across different environments.
By following this guide, you’ve built a strong foundation in Docker. You now have the tools to not only run containers but also to containerize your own apps and make them ready for any environment.
If you found this guide helpful, make sure to share it with others and leave any questions or feedback in the comments below. Stay tuned for more hands-on guides to take your development skills to the next level!
Thanks for reading! If you enjoyed this post, make sure to follow me for more insights. Connect with me on X (Twitter) for real-time updates and join me on YouTube for in-depth tutorials and tech tips. Let’s keep learning and building together!